Review: The Bree Louise (London)

Sometimes you go in a pub which genuinely makes you say “wow”. On recommendation from Dr Lovesale who heard from the landlord of the Dewdrop (Chairman of CAMRA in Erewash) that The Bree Louise in London was the best pub in the UK.

So when I was visiting my brother in London I printed off a map and dragged my wife over to see this mighty pub. It did not disappoint.

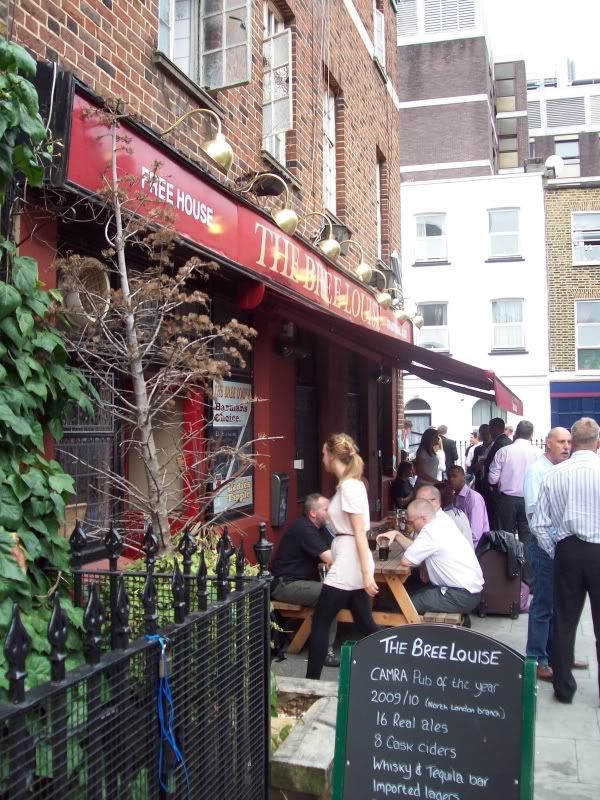
outside bree louise

From the outside you know your in for a treat. Yes that’s SIXTEEN ALES DAILY. That’s as many as some smaller beer festivals…every day.

It’s not on a main street in London either rather set back a few streets from the insane roads full of cars. So it’s nice to sit outside on the benches if you can find a spot. Judging by when we went that’s unlikely at any time on a weekend.

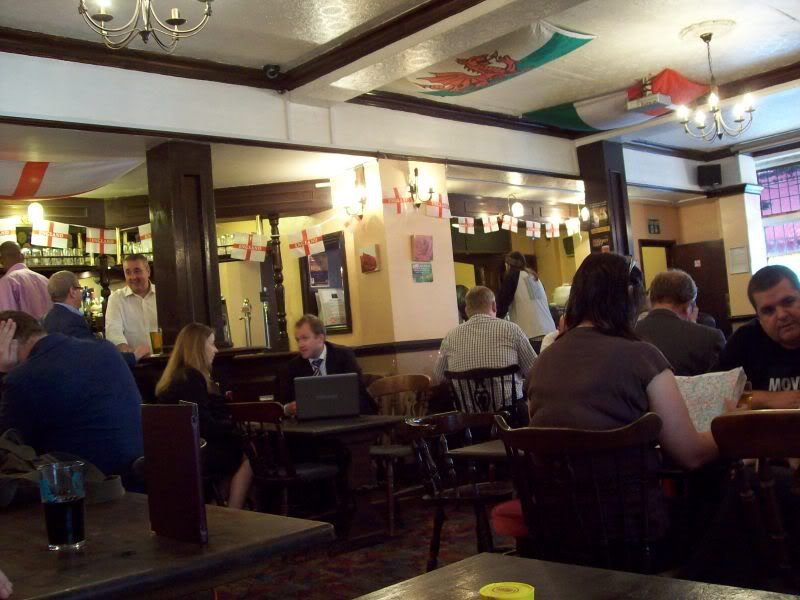
Inside Bree

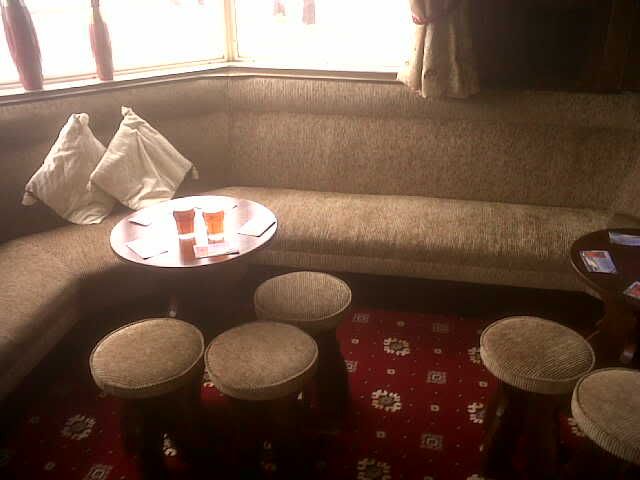
Inside the decor is decent as above. Nice tables, chairs and carpet. Fairly decent toilets.

But you don’t come here for the decor…you come for the freakishly large selection of beers, wines and spirits on offer (mainly the beers)

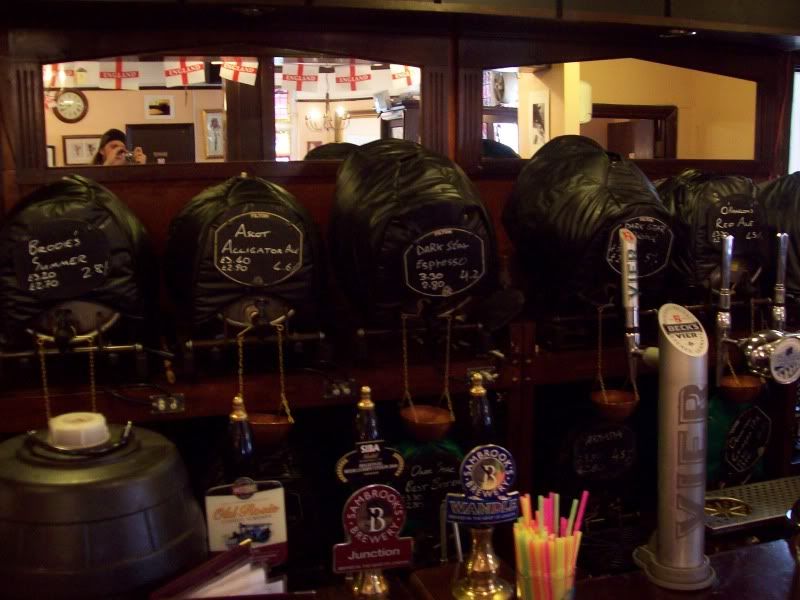
There is a large selection of pumps and also a pretty huge selection of “festival style” barrels which are dispensed directly

Barrels

The food is standard fare such as filled rolls and cheese boards but there is a wide selection of real meals available. Click HERE for the full menu.

Sadly I cannot recall many of the beers I had since it was a couple of months ago now but they did a great pint of Punk I.P.A which is one of my favorites. Generally all the beer was kept EXCELLENTLY which is what you would expect from a pub with such a wide selection.

The pub itself is a very short walk away from Euston Street Station (which is very near St Pancras where most trains come into London)

All in all this is a pub NOT TO BE MISSED and easily lives up to the reputation which it apparently has accumulated.

Click here for Google Map of location

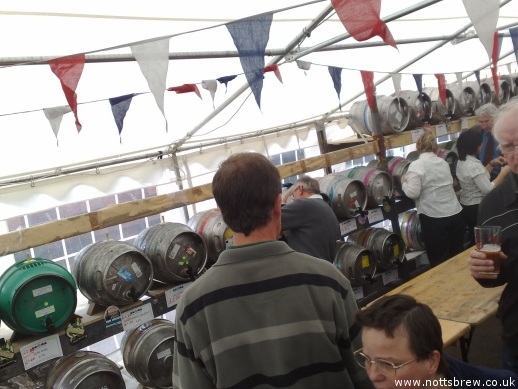
Loughborough great central railway beer festival 2010

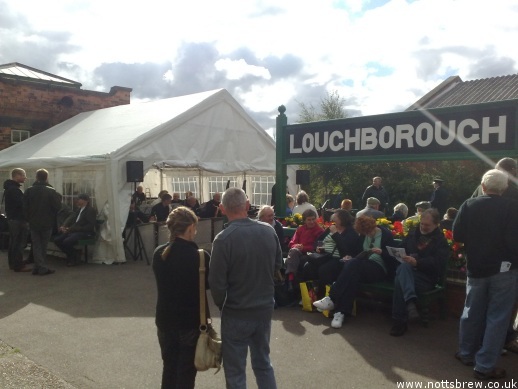
Band tent

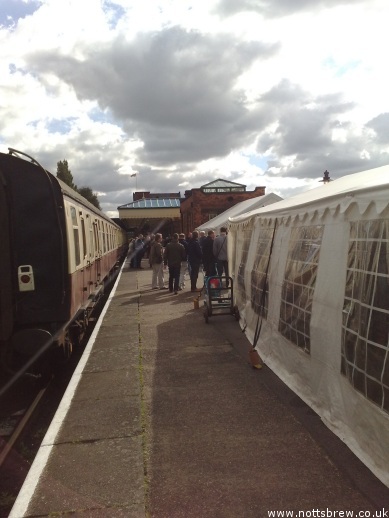
Beer and trains, I’ve never been much of a railway person but there’s no doubting I was intrigued by this festival, and they had 40 ales on, so that was pretty much the deal sealed right there.

I was pleasantly surprised at the layout of the festival, I didn’t think it would be literally laid out on a train platform; a period wedding meant people where milling around in pre-war attire, add that to a live brass band and you have quite the atmosphere, certainly unique, and certainly enough to make me want to attend future festivals.

Tent

It wasn’t perfect though, despite a good mix of beers (all sourced from locations on the route) nothing stood out as exceptional, Rebellion – Mutiny, a beer I have enjoyed many times just didn’t taste on form at all to me but that really is nit picking on what was a great day out.

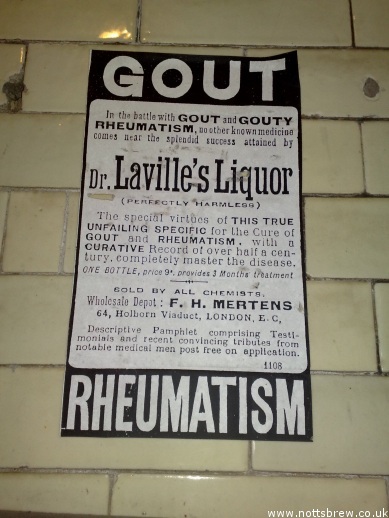
stationgout

My picks from the festival,

Nottingham – EPA
Castle Rock – Harvest Pale
Boggart Hole Clough Brewery – Rum Porter

The festival is accessible from the X9 bus from Nottingham city center and a 10 minute walk, click for the gcrailway website.

Nottingham Pub Reviews

Nottingham Pub Reviews

Brewdog Nottingham

The Crown Inn – Awsworth

The DewDrop Inn – Ilkeston

Fox and Crown Basford

The Goosebury Bush

Hog’s Head

Horse & Groom Basford

The Kean’s Head – Nottingham

King William IV – Nottingham

Newark Pubs: The Castle/The Prince Rupert/Just Beer

Plough Inn – Nottingham

Riverside Farm & Nutbrook Brewery

The Roundhouse – Nottingham

Ropewalk – Nottingham

The Salutation Inn – Nottingham

The Spanish Bar – Ilkeston

Trent Bridge Inn (TBI)

The Organ Grinder

Ye Olde Trip To Jerusalem – Nottingham

Vat and Fiddle – Nottingham


Review: Chelsea Brewing Company (New York City, U.S.A)

In 2009 I had the pleasure of going back to New York (Hands down my favorite place to go on holiday) on my Honeymoon.

I made a promise to myself I would try and find some cool real ale places to visit while I was there.  Of the 2 actual real ale places I went to this was the most jaw dropping place.

The legend is “Americans cant brew and cant drink”. I’m here to dispel that myth. America has more brew pubs in one large city than the UK has in total most likely. Brewpubs are simply one of my favorite things to visit.

A pub….which brews its own beer in house and serves it fresh over the bar. What more can you want? The Chelsea Brewing Company is set on the west side of Manhattan in (shockingly) a district called Chelsea.

The brewery itself is set on pier 59 of Chelsea Marina. The brewpub itself contains awesome mahogany bars, a cigar lounge, a great restaurant menu (best nachos ever as recommended by my wife) and best of all….a huge selection of home brewed ales.

The location itself is not immediately obvious in that you need to walk into what looks like a multi story car park, once past this you find it right next to a huge outdoor golf driving range.

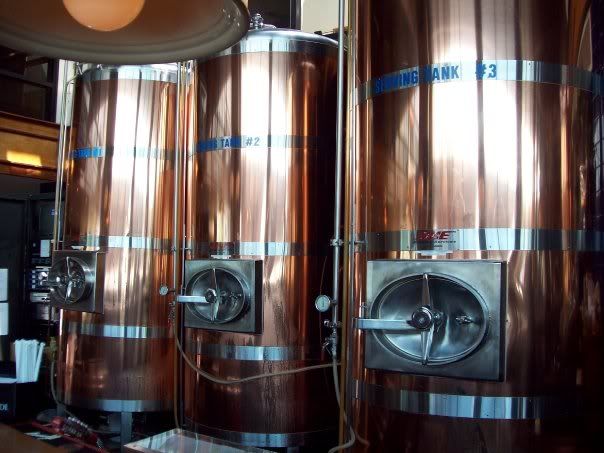
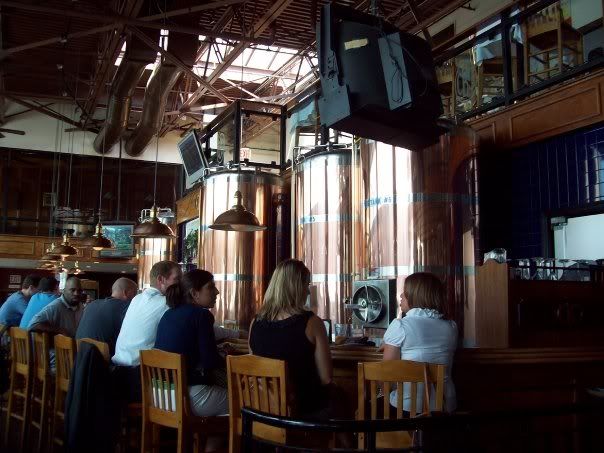
On entry you are greeted by these gorgeous copper giants
Serving Vats

These are what the beer is served from. This gives you an idea of just how fresh this beer is. I cant tell you how much those hold but its a LOT….a HELL of a LOT.

The selection was staggering. As well as all the generic NY and US beers like Sam Adams etc and a huge range of spirits they have (what people come for) a good range of in house brewed ales.

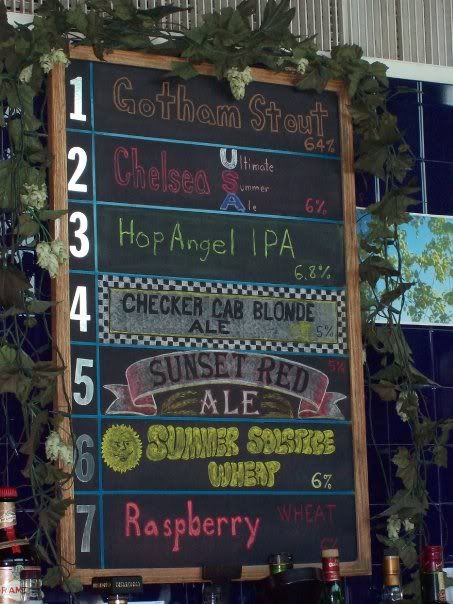
Here is the chalkboard

Chalkboard

Those are some impressive ABV’s. Some of these beers will catch up with you quick.

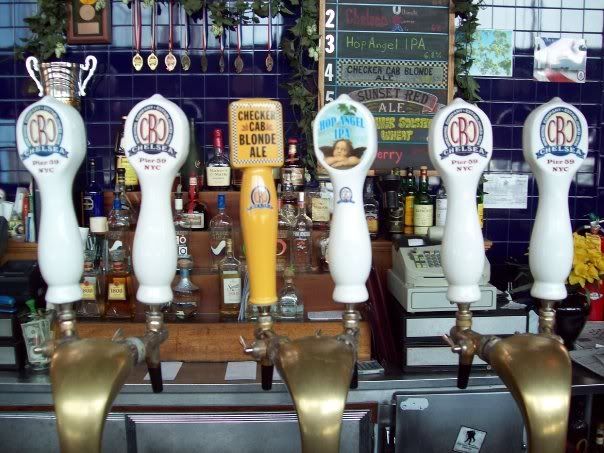
The pumps are equally cool looking

Pumps

I quaffed a half of pretty much all of them and must say I was amazed. The beer was of an excellent quality. The raspberry beer no offense to batemans but “urinates from quite a height” on their raspberry beer (which I’ve tried on 2 occasions and detected only a HINT of raspberry)

Chelsea’s raspberry wheat beer tastes DISTINCTLY like raspberries with a refreshing aftertaste with a healthy ABV to boot.

This is a pic of the summer soltice wheat beer.

Cool, refreshing and nice and full of body

This was cool and refreshing. Just what you need on a day when it was peaking at about 32 degrees and VERY humid.

To get back to the brewing part, to put the serving vats into perspective here is another photo

hooge

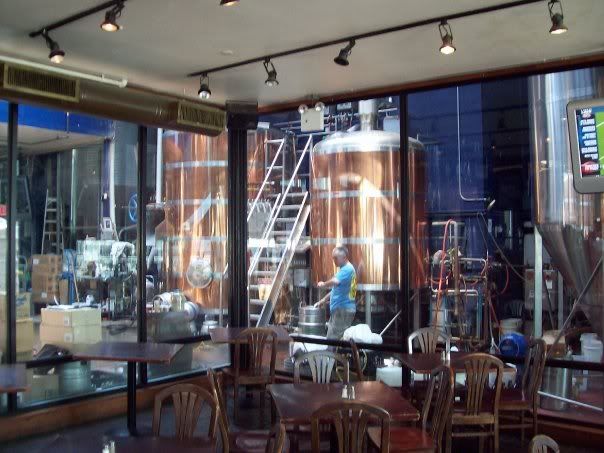
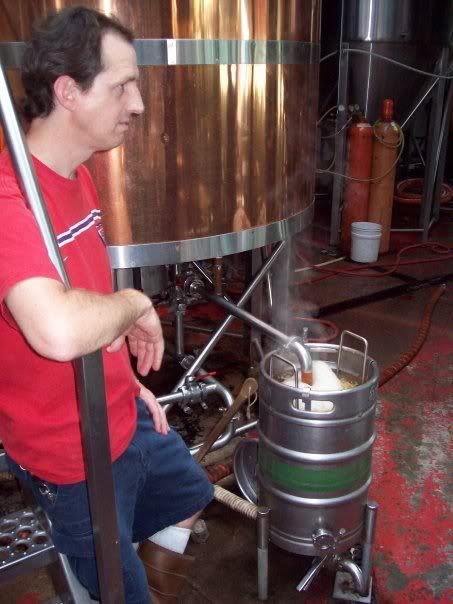
The brewery itself is held behind a glass wall on the opposite side of the bar. I was caught staring like a child looking into a toy shop by the head brewer who beckoned me in for a look.

Brewery

As i walked in i was greeted by the insane blarings of punk (a good start in my opinion) and was given a great little tour by the brew-master who was in the process of doing the “hop back” (driving the ale through a barrel containing MORE hops to add hop flavour)

Brewmaster

Quite honestly a bar like this is an experience. The UK doesn’t have enough pubs like this who brew and sell their own in house (Which is good for the environment since it means less trucks taking huge barrels around)

I came out of the whole affair pretty darn drunk and full of amazing nachos. All in all this was a pub which could show a lot of UK pubs how to do things and at the ABV’s they were offering dispels the “yanks cant hold their drink” myth (Though I’d like to think I did a good job showing them how a brit drinks 😉 )

I promised to send the Brew-master a bottle of my own creation, the last brew i made i forgot but soon im hoping to mend that and send him a bottle over.

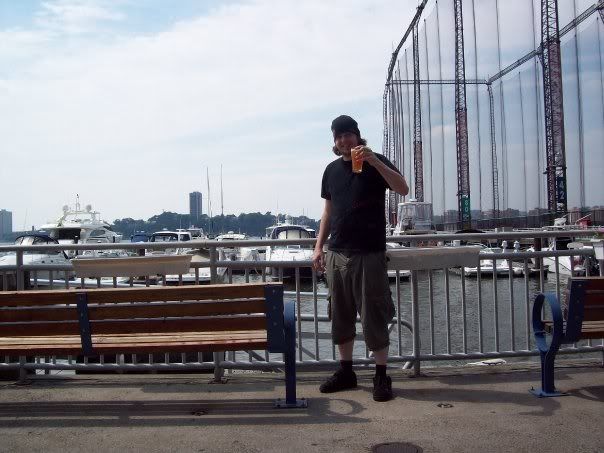
If your ever in NY this is for SURE a pub to visit if only to sit outside in the sun and watch boats go by with some quality real ale.

CHEERS!!

For more info on the Chelsea Brewing Company you can visit their website by clicking HERE

Cheers

Review: Crown Inn (Awsworth)

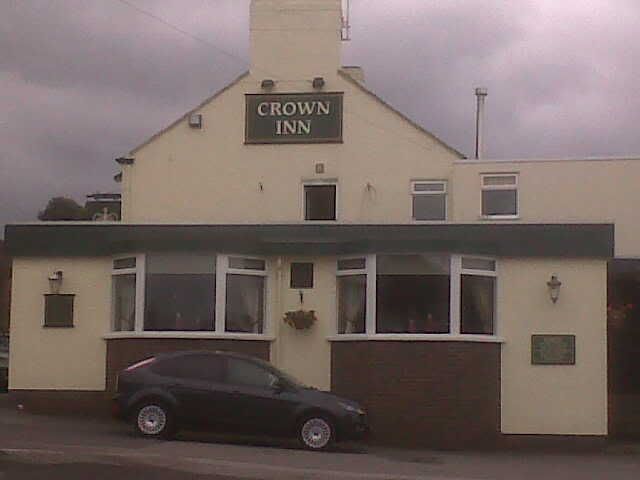
The Crown
Location on Google Maps

Like a phoenix rising from the flames a pub in Awsworth (Wedged between Kimberley, Eastwood and Ilkeston) has recently changed hands and in the case of the ale sold within, for the better.

Previously only cask ales such as John Smiths, Chestnut Mild, Carling, Fosters etc were sold. Hey it is what it is. I drank there for close to 10 years so I can’t talk I guess..

It always was a good laugh and partly that’s what makes a good pub so despite the appalling selection it luckily had other redeeming values.

Now the Crown has been transformed both in terms of the selection but also the interior.

The new ownership who also own the New Inn in Newthorpe have acquired the Crown and are already using their better sourcing abilities to get some decent ale on the pumps in the Crown.

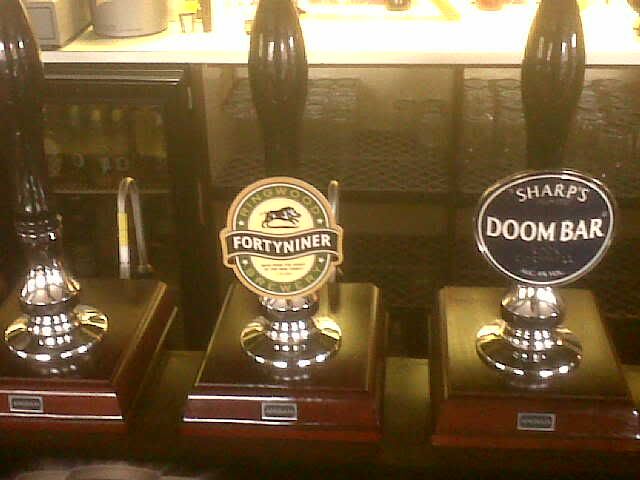
When I went in to take a look at the new selection I pleased to see 2 ales on (Sharps ‘Doombar’ and Ringwoods ‘FortyNiner’)

Ales

I sampled a half of both and am pleased to say the owner keeps beer in excellent condition. Sadly some pubs get great ale but don’t keep them well and they just got off quickly or taste bad.

Not the case here, the landlord is evidently a decent cellar-man and engaged me in conversation about how the glass washing machine was leaving a slight (harmless) film which was ruining the head retention, which by all accounts is great to hear (the fact he cares, not the lack of heads!)

The upholstery has been redone with the addition of a new carpet.

Bar

Bar2

All in all this pub has been given a new lease of life beer wise.

I’m sure all are sad to see Roger (The previous landlord) go who rather than concentrated on beer offered a more “sports orientated” approach to the pub which was great in its own way.

For Real Ale enthusiasts this is worth a visit, judging by the clipboard asking to “Tick the ales you would like to see” the landlord has access to a fair selection including:

Tim Taylor Landlord
Adnams (Both bitter and broadside)
Old Speckled King (Erm Hen)
and more..

The pub has easy access to 2 bus stops (either side up the street) and can be reached by the T1 (Phoenix Flyer) or the 27 (From Kimberley or Ilkeston)

Google Map Location

Nottingham beer festival preview.

October sees Nottingham castle open its grounds once again for the Nottingham beer festival, so let’s take a look back to 2009; and on to what we can expect for this years even bigger 2010 festival.

Nottingham beer festival Thu 14th to Sun 17th October 2010, official website

Thursday October 8th 2009 I was in London drinking in Dirty Dicks (it’s a pub, look it up) an amateur mistake for on my return to Nottingham on the Friday I was greeted at 4pm with a lot of the ‘well known’ (Thornbridge being a prime example) fantastic beers empty, already! This happens every year, and no matter how hard the organisers try with 700 beers it’s nigh on impossible to predict sales patterns, you could argue that they should increase the number of beers with a reserve barrel, but no doubt this comes a the cost of variety.

700 is now the benchmark, if you want to try the well known best beers without disappointment ensure you get down on the Thursday, but remember beer festivals aren’t all about the big boys, what about the little known brewer with an absolute gem? or the darkhorse that slipped under the radar? check back in the coming weeks for our ‘top tips’ before the festival, and any gems we unearth whilst there.

nottm

The Nottingham beer festival takes some beating, I would go as far as saying the only thing that can realistically beat the 2009 festival, is the 2010 festival. It seems finally that some of the stereotypes are being shaken off, you could see this in 2009, it was a huge mix of young and old, the pull perhaps is that it’s not all beer, there’s a ton of cider, fruit wines and fruit beers, and if you really want to tread carefully there are lagery type concoctions dotted around, but don’t expect to find a Carling tent, this isn’t Donington. (though the toilets are comparable)


Stick with us on the run-up, it’s going to be huge.


How to make up a brewing kit

How to Kit Brew

Ok so now you have your stuff, you know how to clean your stuff and now we are ready to MAKE the stuff..

When making kit brews the first choice you need to make is:

Regular cheaper beer kit which requires adding some form of sugars to? (8-9 pounds to buy + cost of the sugars)

More expensive 1kg beer kit which is ALL MALT and requires no additional sugars? (18 pounds+)

In terms of making them up they are very similar in time taken and identicle almost in method.

Generally the 1kg kits taste better but some kit companies like “Coopers” do some exceptional beers which require additional sugars. Obviously using high quality sugars will make them better (such as beer enhancer or spray malt)

Recommended kits: (Please note i dont get anything out of any of these suppliers for recomending them, im just trying to save your cash)

Woodfordes kits are easy to make and have a generally reliable yeast packet inside. The end result (assuming the yeast works) is excellent. They are generally 18-20 pounds.

Coopers kits are australian kits which require 1kg of additional sugars. They are EXCELLENT kits (If your making a lager type use Glucose, if your making a bitter type then beer enhancer or spray malt…but glucose or even sugar works ok) Average price is 9-10 quid + cost of sugars

Geordie Kits. These kits have a bad reputation but erm…they are fine? Ive made a bunch before (Usually to try something silly like adding ginger too or something) Cheap price for decent beer. Average price is 7 quid + cost of sugars.

What you need

Fermenter (with airlock if you have one which can take one)
Long spoon (cheap plastic ladel is fine)
Hydrometer with trial jar
Thermometer
Funnel (Very handy if you have the fermenter with a screw lid which is much narrower than the other fermenter)
Can opener (nothing worse than getting ready to go and realising you cant open the can)
Kettle (to erm…boil water)
Jug (for getting the yeast going. Pyrex ones are ace)

MAKE SURE EVERYTHING IS CLEANED, STERILISED AND RINSED (If you do this I swear nothing will go wrong)
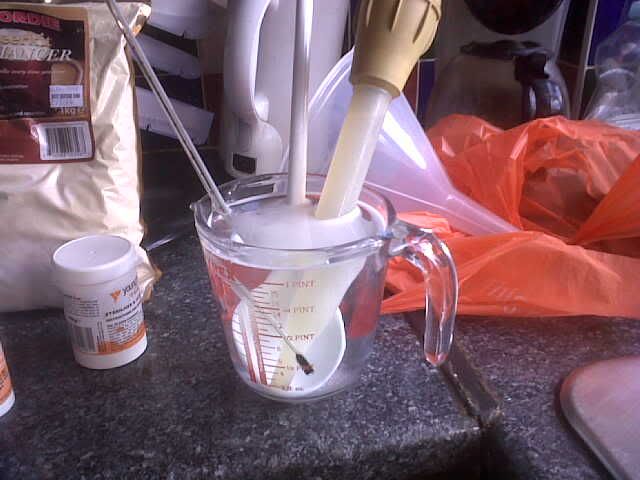
STERILISE!!!!

STEP 1: Preperation

Doing a few simple things now will save time later. When making kits if you follow a few simple rules like cleaning as you go and getting water hot ahead of time it shaves a lot of time off.

a) Preboil a full kettle of water

Since the insides of a can from a beer kit are so insanly THICK AND VISCOUS it pays off in a big way to open the can a fraction with a sterilised can opener, just so there is a small hole for pressure to escape. Once this has been done place in a ban of boiling water and heat very gently. After 5 mins or so the insides will be more easily pourable. You will need to refill and reboil the kettle after this.

Heating the can

Pour some of the boiling water into the jug, about half full for a small jug is fine. This water will be left to cool for the yeast to be prepared in (Ideal is 18-23 degrees C)

b) Make sure you have some place CLEAN (on kitchen roll would be fine) to put items when not in use so they are not left on a potentially dirty surface

STEP 2: Getting the yeast going

Once the water in the jug is down to the right tempreture of 18-23 degrees C (Add a little cold water if it’s too hot) carefully open the yeast sachet and pour into the water with a teaspoon of sugar. Cover this with some kitchen roll and put in a warm place. This will get the yeast going and give it a much higher chance of survival.
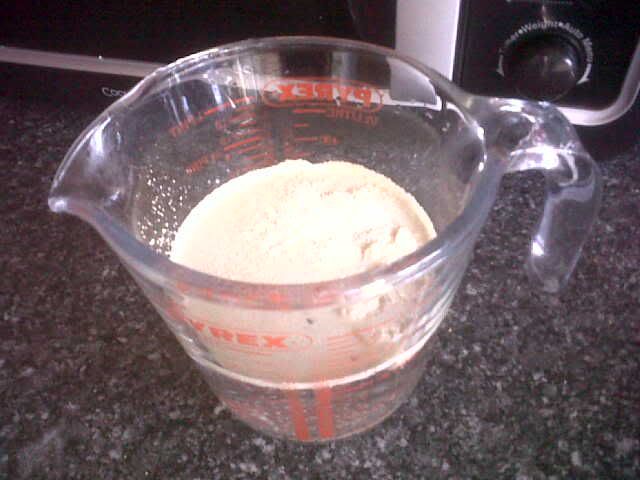
YEAST!!

STEP 3: Open the can

The contents of the can is basically a very thick malt concentrate. If we didnt heat the can it would not pour well. With some oven gloves or a towel lift the can out the pan and place on the surface.

Open the remainder of the can taking care not to touch the malt inside with your hands.

Pour the entire contents into the fermenter.
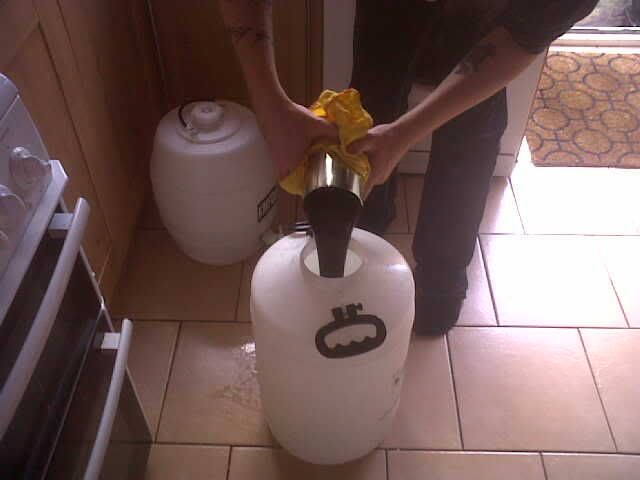
The gooey waterfall

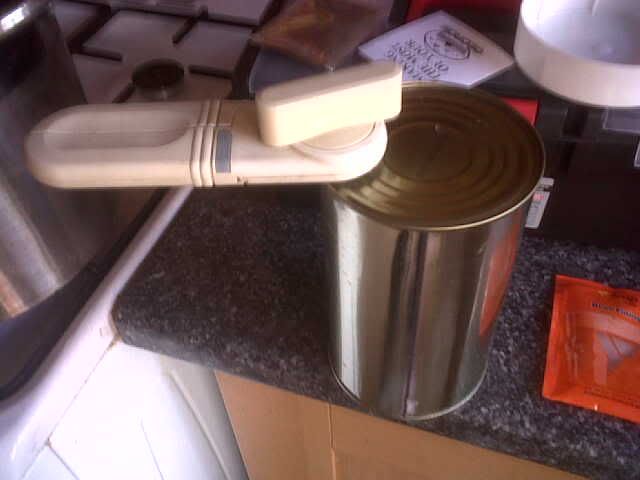
Next pour some boiling water into the can and stir with a spoon, the aim is that NO malt be left in the can AT ALL. Every last bit of the syrup you get out will make your beer better. The can will be HOT after this so take care when lifting.
Add water to rinse

Once nothing remains in the can dispose of this in your recycling bin.

STEP 4: Adding boiling water

The instructions in your beer kit will tell you how much exactly but i just always add another whole kettle of boiling water. Once you have poured this in STIR VIGOUROUSLY or (if you own a fermenter with handles SWIRL the liquid until ALL the malt is dissolved inside)

The more you agitate the mixture the more oxygen is mixed in which helps the yeast divide. MORE MIXING AND OXYGEN = BETTER BEER. Thrashing the beer with a spoon works well if you can avoid it splashing over the edge. Make sure your hands are clean when you do this in case any splashes on you and falls back in.

STEP 5: Adding the sugars

Now mixing whatever sugars in you have at this point is fine. But it’s best to add them premixed in liquid. Bring a pan of water to the boil to sterilise the water and add your sugars to the pan and stir till all is dissolved.

Mixing the sugars

Take care when adding spray malt or beer enhancer as the steam will make the powder clump around the hole in the bag. Stir till no lumps/powder remains and add to the fermenter stirring well. STIRRING VIGOUROUSLY now will give a great start to the beer.

STEP 6: Topping up with cold water

Now we need to top up to 25 litres (I personally aim for 23 litres as this gives the beer a bit more body) with cold water. This will bring the tempreture down to about 18-23 degrees. If its too high then either leave with the lid resting on for a while till it comes down (Dont be tempted to add too much cold water in case you go over 25 litres)
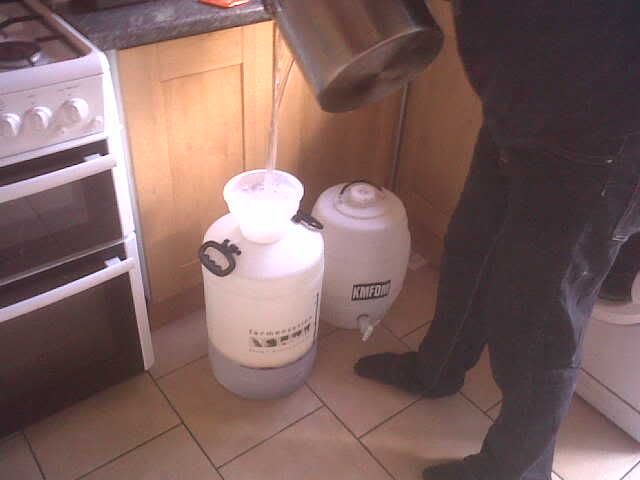
POUR WATER FROM A HEIGHT

Try to pour the water in front a good height to force lots of oxygen into the mix, the more the water is thrashed about and displaced the better. I find a large stock pot is good for this and you can pour from a great height without splashing.

Once we are at in the 18-23 degree C range continue..

STEP 7: Pitching the yeast

Pitching is just another term for adding. The yeast by now should look like below and be clearly active. Dont worry if it’s not its still probably ok (But it doesnt hurt to keep spare packs on hand and adding more than 1 pack of yeast has no drawbacks)

Stir gently with your spoon

STEP 8: Fit the lid

If you are using a fermenter without an airlock (Such as the fermenter with the lid) its a good idea to open the lid a crack to allow gas to escape and lay a clean towel over the top. Not only does this keep it warmer but also stops any overflowing yeast escaping onto the floor better. It also keeps dirt and such from getting in.

Fermenter with airlock fitted

If you are using one with an airlock make sure the lid is on tight and the airlock has some sterilised water in, not too much. Just enough to level out in the u-bend.

STEP 9: Find a warm place to ferment which DOESNT FLUCTUATE often

Although it is important for the beer to be between 18 and 23 degrees hotter than this E.g. upto 26-27 is generally ok.

Any colder and the yeast may become dormant and not fully ferment the sugars. Hotter and the yeast may simply die.

Another important thing to note is tempreture flucations can cause the yeast to extract esters from the ingredients and cause nasty “off” flavours. So a room which doesnt change too often OR covering with a blanket may help keep the tempreture stable.

STEP 10: Measuring the gravity of the brew

After 3 days take your sterilised turkey baster and get some of the brew and 3/4 fill the trial jar. Drop the hydrometer in and look at the reading. Its essential to get “on a level” with the hydrometer to get an accurate reading.

Generally beer is done at about 1.005-1.010 on a hydrometer. But the real rule of thumb which its important to follow especially if your bottling is:

If you take 2 readings the same 2-3 days apart then you know the beer has finished fermenting.

At this point I would recommend leaving 1 more day to clear a bit and reduce the amount of sediment floating about (2 days will not hurt either as long as you havent been opening it often as the Carbon Dioxide layer keeps beer fresh)

STEP 11: Kegging/Bottling

This will have its own section soon but when transferring beer to whatever container/s you have chosen you need to PRIME the beer.

Since must of the sugars have been used up by the yeast there is little left to generate carbon dixoide in the bottle/barrel and keep it fresh. For this reason we add a certain quantity of sugar (cane sugar is best) so this can be consumed by the yeast in the container and create pressure (Eventually it will begin to carbonate the beer so its fizzy if in bottles)

120 grams of cane sugar disolved into some preboiled and then cooled water will suffice.

This can be added to the final mixture and gently stirred. This can then be bottled/kegged.